
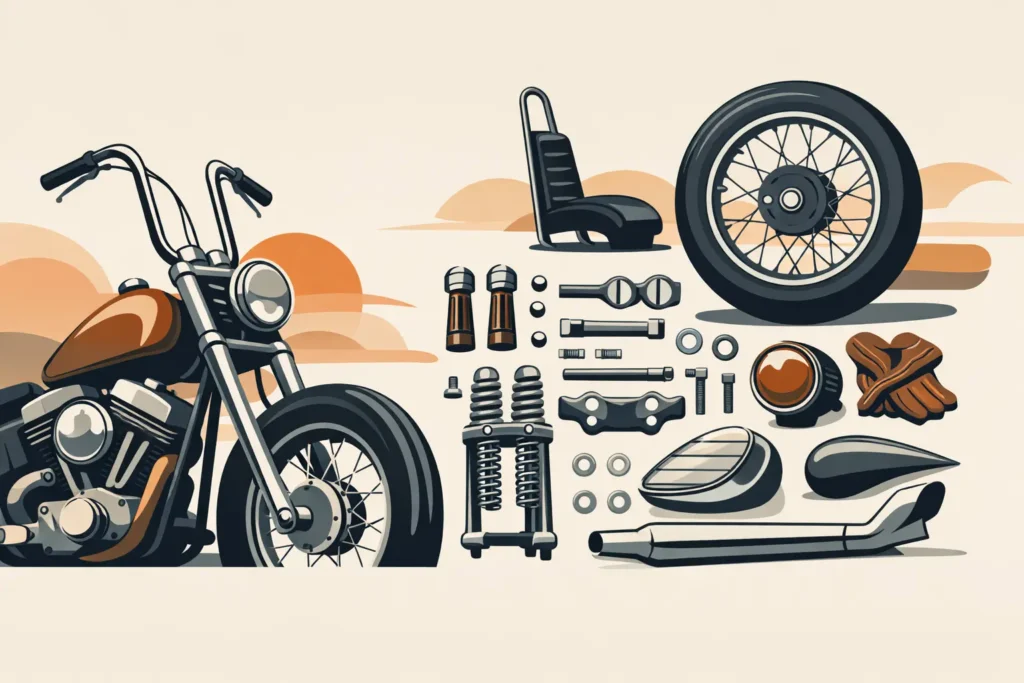
A chopper can have the right stance, a good motor, and paint that turns heads, then lose the whole plot because somebody hung shiny late-model hardware all over it. Period correct chopper hardware is what keeps a build from looking assembled out of a catalog. It is the small stuff that tells people whether you understand the machine and the era you are building toward. period correct chopper hardware Chopper Frames for sale
For a rider-built shovel, a rough Panhead bobber, or a faithful late-1960s style custom, hardware is not an afterthought. It sets the visual language. The right riser bolts, axle hardware, foot controls, brackets, clamps, and fasteners make the motorcycle look like it belongs together. More important, the parts still have to do their job when the road gets rough. Home
What Makes Chopper Hardware Period Correct?
Period correct does not always mean factory original. A chopper built in 1971 was rarely a factory-original motorcycle in the first place. Builders mixed Harley components, aftermarket speed parts, swap-meet finds, hand-fabricated brackets, and whatever could be made to work in the garage. period correct chopper hardware
What matters is whether the hardware fits the time period, the style of the build, and the way choppers were actually put together. A narrow-glide front end with tall, skinny bars and a peanut tank can look right with plain steel clamps, cad-style fasteners, and simple raw or polished aluminum controls. Put black-anodized button-head hardware and oversized billet controls on the same bike, and the visual timeline starts getting confused. period correct chopper hardware
A few details usually separate era-appropriate parts from modern replacements:
- Material and finish – Cadmium-style plating, zinc, parkerized steel, chrome, polished aluminum, and unfinished steel each tell a different story.
- Fastener head style – Hex heads, acorn nuts, castle nuts, Allen hardware, and slotted screws all show up differently depending on the build and the period.
- Shape and machining – Older aftermarket pieces tend to be simpler, rougher, and more functional than modern CNC billet parts.
- Provenance – OEM, NOS, used original, and vintage aftermarket parts carry a look that even a quality reproduction may not fully duplicate.
The target is not fake patina or a museum display. The target is a bike that looks right from ten feet away and makes sense when another builder leans in close.
Start With the Era You Are Building
“Old-school chopper” covers a lot of ground. Hardware that looks right on a mid-1960s Panhead does not automatically belong on a 1970s Shovelhead digger or an early-1980s custom. Before buying parts, decide what the bike is supposed to be.Black/Chrome Switchblades Customized Mag wheels
Early Traditional Builds
For a late-1950s through mid-1960s traditional build, simplicity usually wins. Think mechanical drum brakes, narrow front ends, short risers, small tanks, simple steel brackets, and hardware that looks functional rather than flashy. Original Harley pieces, early accessory parts, and plain fasteners are generally more convincing than heavily machined custom components.
This is where original steel clamps, basic axle spacers, old-style foot pegs, and correct mounting hardware can make a bigger difference than another expensive chrome part. A little honest wear is fine. Loose threads, bent mounting tabs, and worn-out pivot surfaces are not.
Late-1960s and 1970s Choppers
The late 1960s and 1970s opened the door to taller bars, extended forks, molded tanks, more chrome, custom sissy bars, invader-style wheels, and a wider range of aftermarket hardware. This is the era where reproduction parts can work well, as long as they are chosen with some discipline.
A seventies-inspired Shovelhead can wear chrome risers, polished controls, ribbed pegs, custom taillight brackets, and longer fork hardware without looking out of place. The mistake is treating every exposed bolt as a chance to add more billet. Choppers from this period could be wild, but they were not usually overdesigned. period correct chopper hardware
period correct chopper hardware with 1980s Customs and Digger Influence
An 1980s-influenced build can support more polished aluminum, more custom machining, wider rear sections, and a cleaner presentation. Even then, it pays to identify the exact direction. A low, stretched digger calls for different hardware than a stripped-down FX-based street chopper.
The best builds have a consistent rulebook. If the bike has period mags, a sculpted tank, and a narrow custom seat, the brake mounts, shifter, and handlebar controls need to follow the same rulebook. period correct chopper hardware Customize Black/Chrome Mag rims and tires
Where the Details Matter Most
Not every nut and bolt deserves a full restoration hunt. Put your effort where the eye naturally lands and where fitment matters most.
Handlebars and risers are front and center. The correct clamp style, riser hardware, and cable routing can change the whole front end. Check thread pitch and mounting dimensions before you assume an older set of risers will work with a later top tree. Harley fitment changed across years, and many vintage choppers have already been modified more than once.
Foot controls are another major visual and functional piece. Old aftermarket forward controls, heel-toe shifters, brake pedals, and mounting plates often have character modern parts cannot copy. But inspect pivot points, return springs, linkage wear, and brake actuation carefully. If a vintage part is too worn to trust, rebuild it, replace the critical internals, or use a safer substitute that keeps the same profile.
Axles, wheel spacers, and brake hardware deserve even more attention because they are not decorative. A spacer that is close is not close enough. Wrong axle diameter, poor thread engagement, mismatched wheel bearings, or an improvised brake stay can turn a good-looking project into a dangerous one. Measure the parts in hand, verify widths, and mock up the entire assembly before final finishing.
Small mounting pieces matter, too. Headlight ears, tank mounts, oil tank brackets, coil mounts, exhaust clamps, and fender struts are where a build either looks intentional or starts looking patched together. Used original hardware is often worth saving if it is structurally sound. Clean it, chase the threads, and retain the marks that give the piece its age.
OEM, NOS, Used, or Reproduction?
There is no single right answer. The best choice depends on the part, your budget, and whether the bike will be ridden hard or shown.
OEM hardware is often the best fit when you are restoring a Harley-based machine or trying to preserve original engineering. It may not be flashy, but factory parts generally solve fitment problems before they start. NOS parts are valuable when you need an untouched original component, though age can still affect rubber, plating, seals, and packaging-stored materials. High Performance Black Air Filter
Used parts are the heart of many real chopper builds. They carry history, and they may be exactly what the bike needs. The trade-off is condition. A used bracket with surface rust can be cleaned and reused. A used control with a cracked casting or worn-out mounting holes needs more than a quick polish.
Reproduction hardware is often the practical move for consumable or safety-critical pieces. New wheel hardware, correct-grade fasteners, brake components, and replacement bushings can give you confidence without wrecking the look. Just avoid mixing a handful of vintage pieces with reproduction parts that are too polished, too blacked-out, or too modern in shape.
Build It to Ride, Not Just to Photograph
A period look never excuses poor assembly. Use the proper grade and length fasteners for structural locations. Make sure threads are clean, torque critical hardware correctly, use locking methods where required, and check clearance through the full range of steering and suspension travel.
If you are using old hardware, inspect every piece before it goes back on the bike. Look for stretched threads, damaged heads, cracks, corrosion deep enough to weaken the part, and previous owner modifications. A rare old bolt is still just a bad bolt if it cannot be trusted.
It also helps to separate visible hardware from hidden hardware. You may choose era-correct exposed fasteners on a tank mount or riser setup while using modern, properly rated hardware in a location that is hidden and carries real load. That is not cheating. That is building a motorcycle you can ride harder, faster, and longer.
Finding the Right Pieces for Your Build
period correct chopper hardware, The hunt is part of the job. Bring measurements, photos, and year information when searching for vintage parts. Know whether you need a specific OEM component, a period aftermarket piece, or simply a correct-looking replacement with the right dimensions. period correct chopper hardware Engine guard for 2014 to 2026 super glide Harley
At Harley Warehouse, the inventory goes far beyond what any online sample can show. For builders chasing hard-to-find used, OEM, NOS, and vintage chopper pieces, a call or email with your measurements and build direction can save a lot of wrong orders and wasted garage time. period correct chopper hardware
Do not let hardware become the last-minute compromise on a bike you have spent months building. Get the stance right, get the mechanics right, then give the details the same respect. The right bracket, bolt, clamp, or control may be small, but it is often the part that makes the whole chopper look like it has been waiting fifty years to hit the road.