
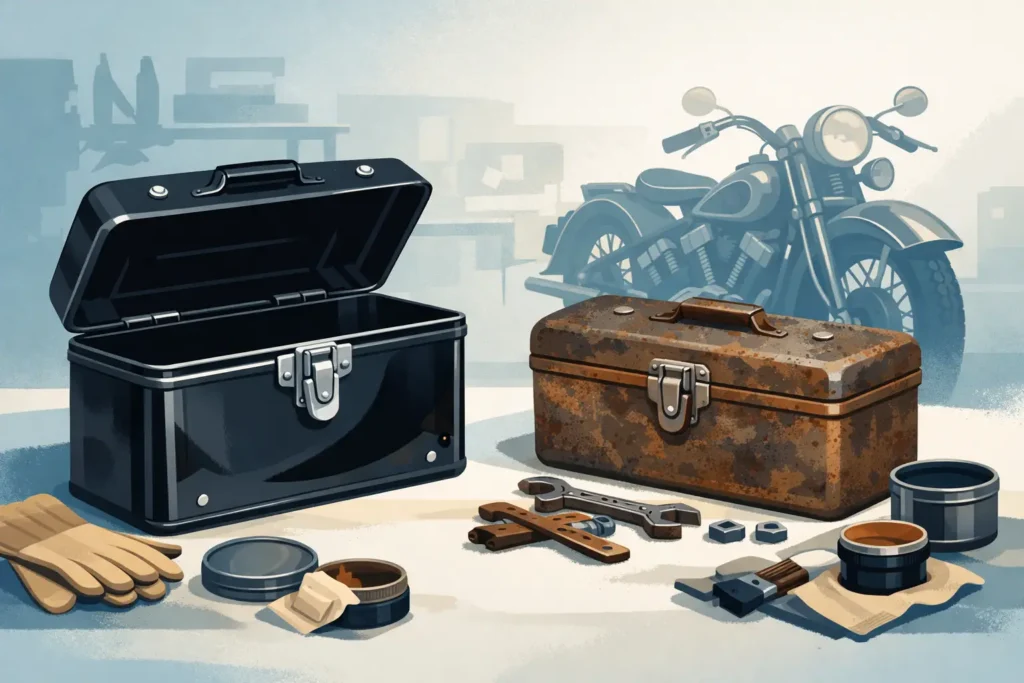
A Harley VL toolbox can look like a small piece of the bike, but it carries a lot of the machine’s story. A proper Harley VL toolbox restoration is not about making every inch look freshly stamped yesterday. It is about bringing a worn, dented, rusty piece back to usable condition while protecting the details that prove it belongs on a 1930s Harley. OEM Vivid Black Saddlebags Factory Harley 2014^ touring FLH glide Road King Street Glide
The VL family was built in an era when motorcycles were working machines. Original sheet metal, hardware, hinges, latches, and mounting tabs have survived decades of vibration, weather, bad storage, and previous repairs. That makes a real toolbox worth saving, even when it arrives with surface rust, missing paint, or a lid that barely closes. Harley VL toolbox restoration Mustang Super Touring Deluxe Diamond One-Piece 2-Up Seat For Harley
Start a Harley VL Toolbox Restoration With Proof
Before stripping paint or firing up a welder, figure out exactly what is on your bench. Harley VL models ran from 1930 through 1936, and the details can matter when a collector is looking closely. A civilian VL, VLD, or VLH may share visual cues, but that does not mean every bracket, lid shape, latch, or mounting arrangement is identical. Military and later swapped parts can add another layer of confusion.
Look for factory-style spot welds, old mounting holes, pressed seams, hinge construction, and evidence of original brackets. Compare the box to period photos and known original machines when possible. Be suspicious of perfectly smooth reproduction stampings, fresh-looking hardware, or mounting tabs that appear thicker than the rest of the metal. A toolbox that has been repaired is not automatically a bad toolbox. A clean old repair can be part of its history.
Photograph everything before disassembly. Get clear shots of the lid, hinge, latch, inside corners, seams, mounts, and any remaining paint or markings. If the box came off a running project, photograph its position on the motorcycle too. Those pictures can save a lot of head-scratching when it is time to reinstall it.
Decide Whether You Are Preserving or Restoring
This is where builders need to be honest about the bike’s end goal. A well-preserved original motorcycle may call for gentle cleaning, rust stabilization, and minimal touch-up. A complete machine being returned to period-correct show condition may justify more extensive bodywork and paint.
There is no single right answer. Heavy sanding and glossy paint can make a rough box look impressive from across the room, but they can also erase factory seams, stampings, and the worn finish that tells you it is genuine. On the other hand, leaving active rust in a box that will see regular road use is not preservation. It is just postponing the next repair. Home
Clean the Metal Without Erasing It
Start with a careful wash using a mild degreaser, warm water, and soft brushes. Old toolboxes trap decades of chain oil, road grit, polish residue, and hardened grease inside the corners. Cleaning first lets you see what is actually rusted, cracked, or bent.
For loose rust, work slowly with a brass brush, fine hand pad, or gentle media cleaning. Avoid aggressive blasting on thin 1930s sheet metal. It can warp broad flat panels, round sharp edges, and leave a surface that looks wrong under paint. If blasting is necessary, keep pressure low, use a mild media, and stay away from one spot long enough to heat the panel.
Chemical rust removers can be useful on the inside of the box and along folded seams, where a brush cannot reach. Neutralize and dry the metal completely afterward. Moisture hidden under a seam is exactly how fresh paint jobs fail early.
If old paint remains in protected areas, do not assume it has to go. Original finish under a lid or inside a corner can provide useful color evidence. Save a small sample before stripping the rest, especially if the bike is being restored to a factory-style finish.
Repair the Parts That Make It Work
A toolbox does not need to be flawless. It needs to mount solidly, open correctly, latch securely, and keep its shape. Concentrate on those jobs first.
Bent mounting tabs should be straightened gradually with support behind the metal. Trying to bend a fatigued tab in one hard pull can crack it at the seam. If a tab has separated, save the original piece whenever possible. A careful weld repair that retains the factory shape is better than replacing it with an oversized generic bracket.
Hinges deserve patience. Soak seized hinge pins with penetrant and work them back and forth before forcing them. If the pin has to come out, measure its diameter and length before replacing it. A modern nail, cotter pin, or random piece of wire might make the lid move, but it will look out of place and may wear the hinge faster.
The latch is another detail collectors notice. Clean and repair an original latch before hunting for a substitute. If a spring is missing or a small catch is worn down, a competent metalworker can often rebuild the working surface without changing the outward appearance. When an original latch is beyond saving, choose a replacement that matches the period in size, profile, and finish rather than the first universal hardware-store part that fits.
Dents can usually be improved from the back with patient hammer and dolly work. The goal is not to stretch the panel into perfect flatness. On a piece this old, slight movement and minor marks are better than a toolbox covered in filler. Use filler only when needed, keep it thin, and make sure the underlying metal is sound.
Paint and Finish: Match the Bike, Not a Modern Catalog
Paint is where many Harley VL toolbox restorations go sideways. Modern paint systems are durable, but a deep, ultra-gloss finish can look strange next to original parkerized hardware, aged fasteners, and hand-finished 1930s parts. The right sheen depends on the motorcycle, the evidence you have, and whether the rest of the build is restored, preserved, or ridden hard.
If the toolbox is being painted, prep the repaired metal with an appropriate primer and use a finish that suits the period and the condition of the motorcycle. Test a small hidden area first. Color can shift dramatically between a paint chip, a freshly sprayed panel, and a part viewed next to aged fenders and tanks.
Do not paint over moving hinge surfaces, latch contact points, or mounting faces without checking fit. Fresh paint adds thickness. A lid that closed before painting may bind afterward, and bolts can chip paint if the mounting holes are too tight. Assemble the toolbox dry before final installation, then make any small adjustments while the part is still easy to handle.
Original or correct-style hardware matters as much as the paint. Avoid bright zinc-plated bolts where the rest of the machine calls for a darker, more subdued finish. Check thread size and bolt length carefully. A bolt that is too long can scrape a frame tube, interfere with the lid, or damage whatever you carry inside.
Make It Ready for Real Miles
Once the finish has cured, protect the inside of the toolbox. A thin liner, fitted rubber mat, or simple cloth tool roll can prevent tools from rattling against fresh paint and thin sheet metal. Keep the liner removable so moisture does not stay trapped underneath.
Before loading it up, inspect the mounting points on the motorcycle. A restored toolbox mounted to cracked brackets or loose hardware will not stay restored for long. Use the correct fasteners, tighten them evenly, and check clearance through suspension travel and steering movement where applicable. After the first ride, inspect the latch, hinge, and mounts again. Old Harleys communicate through vibration, and a toolbox will tell you quickly if something needs attention. Harley VL toolbox restoration
A good restoration should look right when the bike is parked and hold up when the ride gets rough. That is the balance worth chasing. If you are missing an original lid, latch, bracket, or period hardware, Harley Warehouse can help locate hard-to-find vintage pieces from a deep inventory that goes well beyond the usual online listings. Keep the original metal whenever you can, repair what still has life in it, and let the finished toolbox earn its scars on the road.