
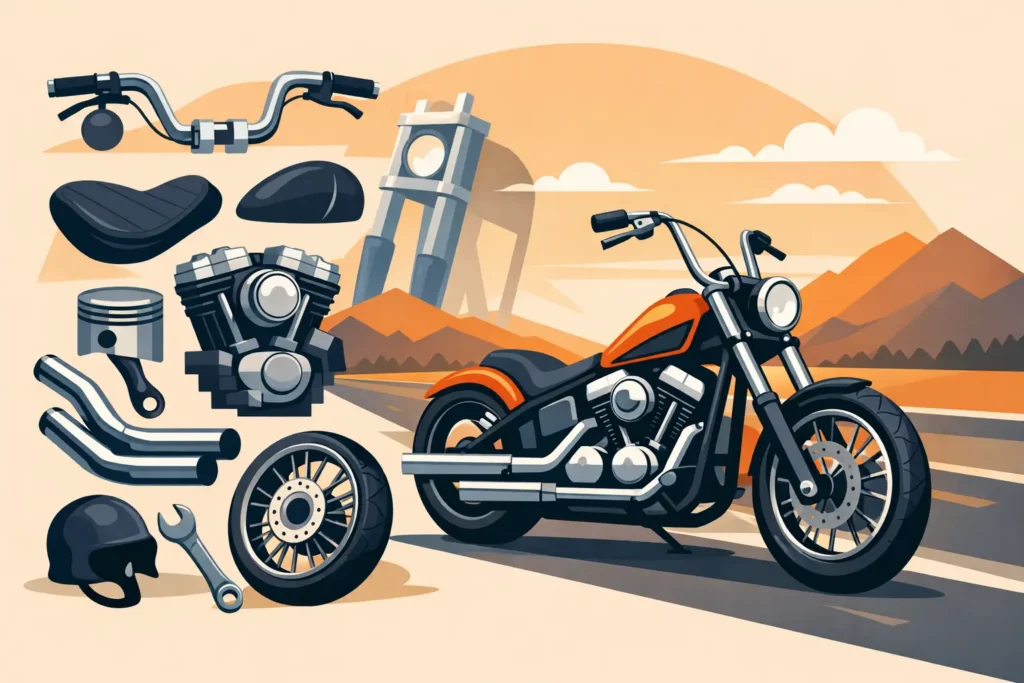
Harley chopper parts that fits chopper can look mean parked outside a shop and still be a headache 10 miles down the road. The difference usually comes down to the chopper parts hidden behind the paint: correct neck geometry, usable brake components, properly matched controls, and hardware that belongs on the motorcycle instead of in a coffee can. Saddlemen Step-Up TTR Tuck and Roll Seat For Harley
Harley chopper parts that fits real build is more than a collection of cool pieces. Every part has to work with the frame, engine, transmission, front end, wheels, and the way you actually plan to ride. Whether you are building a rigid Shovelhead, stripping down a Sportster, or giving an Evo a long-fork attitude, buy with fitment and function in mind first. The style gets better when the foundation is right.
Harley chopper parts that fits Start With the Frame and Drivetrain
The frame is where every chopper build begins. It determines the engine mounts, transmission arrangement, rear axle setup, neck angle, tire clearance, and the overall personality of the bike. A stock Harley frame with a clean-up job, a welded hardtail section, and a narrow tank can make a hard-running traditional chopper. A purpose-built rigid frame may give you more freedom, but it also demands a sharper eye for component compatibility. Harley chopper parts that fits
Before ordering anything, identify what you have. Know the engine family, transmission type, final drive arrangement, axle diameters, and wheel size. A four-speed Shovelhead setup does not automatically share the same mounts, clutch components, or rear wheel spacing as a late-model five-speed build. Even two parts listed for the same general era may need different spacers, brackets, or fasteners.
If you are working from a used frame, inspect it like it matters – because it does. Look closely at neck welds, motor mounts, axle plates, tabs, and old repairs. Check whether the frame has been modified for a wider rear tire, altered rake, or a different transmission. A cheap frame that has been cut, twisted, or poorly welded can turn an affordable project into a long line of expensive corrections.
Front Ends Need More Than the Right Look
A springer, narrow glide, wide glide, or extended telescopic front end can change the entire stance of a bike. It can also change the way it handles, brakes, and tracks through a turn. Long forks have their place, but length alone is not the whole story. Rake, trail, fork offset, tire diameter, and ride height work together.
Too little trail can make a bike nervous at speed. Too much can make low-speed turns feel heavy and awkward. A radical frame with a stock-length front end may sit wrong, while an overextended fork on a mildly raked frame can create a bike that looks tough but rides like work.
When shopping front-end chopper parts, confirm the neck stem length and bearing style, triple-tree fitment, fork tube diameter, wheel axle size, brake mount position, and fender clearance. If the build has a disc brake, make sure the caliper bracket, rotor, hub, and axle spacers are intended to work as a system. Mixing years and brands is common in custom work, but it is not the same as mixing parts at random.
Wheels, Tires, and Brakes Are Not the Place to Guess
A skinny 21-inch front wheel and a tall rear tire deliver classic chopper proportions. So does a wide rear setup with a clean chain line and enough room to run. But wheel choice affects more than appearance. It affects hub spacing, rotor location, sprocket or pulley alignment, axle diameter, tire clearance, and how the motorcycle reacts on rough pavement.
Measure before you buy. Check the inside width of the rear section, the brake-side clearance, and the distance between the sprocket or pulley and tire. A tire that barely clears on the lift may rub when the rider is on the seat or when the suspension moves. On a rigid, you still need room for tire flex and frame movement under load.
Do not build around questionable brakes. Used calipers, master cylinders, rotors, and brake controls can be worthwhile when they are complete and serviceable, but they need a close inspection. Look for damaged threads, deep rotor grooves, seized pistons, cracked hoses, and mismatched fittings. Replace aged rubber lines and worn pads. A chopper does not need to be overbuilt, but it needs to stop straight every time. Harley chopper parts that fits
chopper parts that fits That Set the Style
Once the running gear makes sense, the visual decisions get fun. Tanks, bars, seats, fenders, exhaust, lighting, and controls give a build its voice. This is where a period-correct restoration, a 1970s-style digger, and a rough-and-ready bobber head in completely different directions.
A peanut tank keeps the center section lean and simple. A narrow Mustang-style tank adds old-school shape. A tall coffin tank creates a different profile altogether. Whatever you choose, check tunnel width, petcock location, mounting tabs, backbone clearance, and whether the tank works with your planned seat. It is easier to mock up a tank, seat, rear fender, and handlebars together than to discover later that all four fight each other. Harley chopper parts that fits
Handlebars deserve the same attention. Apes, rabbit ears, buckhorns, T-bars, and drags each put the rider in a different position. Bar width and pullback affect leverage. Rise affects wrist angle and shoulder comfort. Internal wiring may keep the look clean, but it adds labor and can limit the controls you choose. On a bike that sees real mileage, comfort is not soft – it is what lets you ride harder, farther, and longer.
Exhaust is another place where fitment and attitude meet. Straight pipes have the sound, but heat, leg clearance, passenger requirements, and tuning still matter. Make sure the pipes clear the kick pedal, forward controls, oil tank, starter, and frame. For an Evo or Twin Cam-based custom, confirm oxygen sensor provisions and mounting points if the engine management setup requires them. Harley chopper parts that fits Harley Touch screen Radio for Harley Touring
Used, OEM, NOS, or Aftermarket?
There is no single right answer. It depends on what you are building and how you intend to use it. OEM parts can preserve original fit and period character. NOS pieces are valuable when you need an untouched factory item, though old packaging does not guarantee that rubber, seals, or finishes have aged perfectly. Used parts can deliver the right patina and save serious money, but condition has to be judged honestly.
Aftermarket parts offer choices that the factory never did: longer fork tubes, custom tanks, forward controls, upgraded brakes, and modern lighting options. The trade-off is that aftermarket quality varies widely. A well-made component can improve a build. A poorly machined one can leave you chasing alignment problems and stripped threads. Harley chopper parts that fits
For a rider, a practical combination often works best. Use quality modern internals where safety and reliability demand it, then use OEM or vintage pieces where the look and history matter. That might mean a classic headlight shell with dependable wiring, an old tank with a fresh petcock, or original-style controls mounted to newer brake components.
Build a Fitment Sheet Before You Buy
The fastest way to waste money is buying parts based only on a photo. Keep a simple fitment sheet for the project. Record your frame and engine details, transmission, front-end dimensions, axle sizes, wheel and tire sizes, brake setup, and intended control arrangement. Add measurements for the neck, backbone, rear axle plates, seat area, and rear tire clearance.
For each major part, keep track of:
- Manufacturer, model, and year range
- OEM or aftermarket part number when available
- Key measurements and mounting locations
- Condition, missing hardware, and needed repairs
- What parts must match it, such as hubs, spacers, cables, or brackets
That sheet makes a huge difference when buying used inventory, especially on older Harley builds where decades of owner modifications are common. A seller can identify a part accurately and it can still be wrong for your particular combination. Your measurements are what protect the build. Harley chopper parts that fits
Mock It Up Before Final Paint
The smartest chopper builders do not rush paint or powder coat. Assemble the bike first. Put the wheels in the frame, install the front end, set the tank and seat in place, run the exhaust, position the bars, and check every major clearance point. This is where you discover whether the rear fender hits, the chain line is off, the kickstand interferes, or the fuel tank needs a different mounting tab.
Mock-up also lets you see the stance from every angle. A part can look right by itself and wrong once it is on the bike. Move it, trim it, change it, or sell it before the final finish goes on. That is building, not backtracking.
Harley Warehouse carries the kind of mix chopper builders need – used and OEM take-offs, vintage pieces, newer aftermarket components, and hard-to-find hardware that may not be visible in every online listing. When your project needs a specific era, fitment detail, or oddball component, having real people who understand motorcycle parts can save a lot of time.
Harley chopper parts that fits to Build the bike you want to throw a leg over, not just the one that photographs well. Measure twice, mock it up honestly, and choose parts that can take the miles. Then fuel it, fire it, and let the road decide what the build is made of.
Pingback: Shovelhead Restoration Guide for Real Garage Builds - HARLEY WAREHOUSE
Pingback: Hardtail vs Softail Chopper Frames - HARLEY WAREHOUSE