
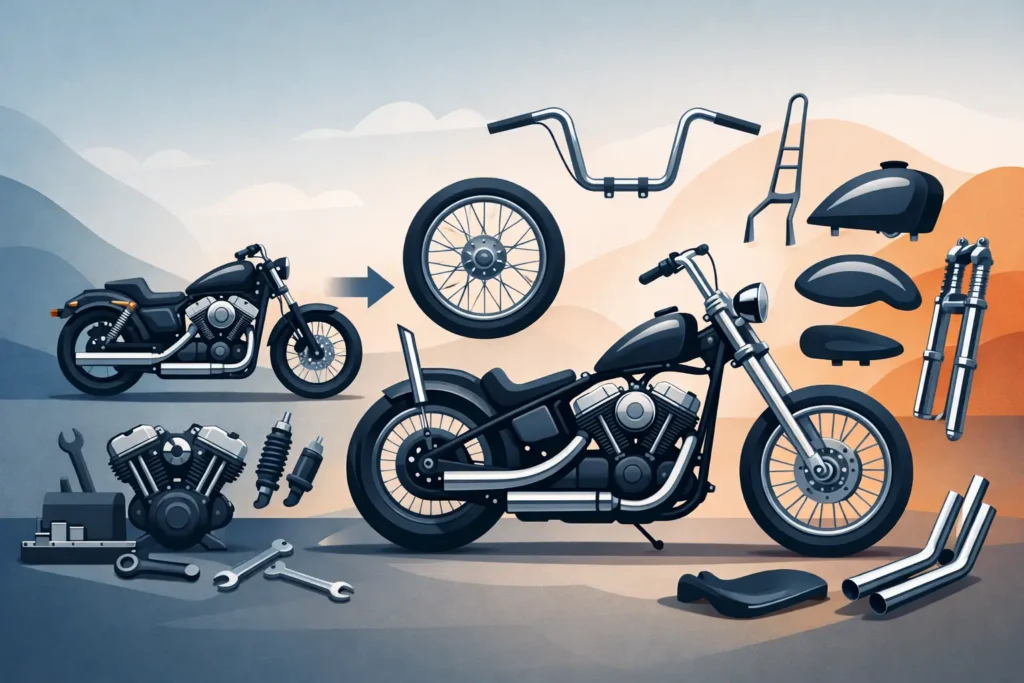
A Sportster can turn into a lean, nasty hardtail chopper without losing the mechanical honesty that made the platform great in the first place. But the best builds are not assembled by grabbing random cool-looking pieces. The right sportster chopper conversion parts need to agree on year, mount style, axle size, brake setup, and the way you plan to ride the bike when it leaves the garage. Home
A tall front end and a peanut tank might nail the stance in photos. If the neck geometry is wrong, the brake line is stretched tight, or the chain runs into the tire, that same bike becomes a headache fast. Build it like a rider, not a display piece. 2007-2016 sportster gas tank Peanut FI 883 1200 Forty eight iron nightster oem
Start With the Sportster You Actually Have
The first question is not which bars or tank you want. It is which Sportster frame and engine package you are starting with. Ironhead, Evolution, rigid-mount, rubber-mount, carbureted, and fuel-injected Sportsters all create different conversion paths.
Older Ironheads and rigid-mount Evolution Sportsters are common chopper foundations because their frames are compact and their lines are easy to strip down. Rubber-mount Sportsters have their own appeal, especially if you want a later engine and a smoother ride, but their larger frame and engine mounts affect tank selection, seat fitment, exhaust routing, and hardtail options.
Know the model year before ordering anything. Confirm whether the bike has a 19 mm, 25 mm, or another axle arrangement; whether it runs a chain or belt; and whether its controls are cable or hydraulic. A part advertised for a Sportster is not automatically a part that fits your Sportster.
Sportster Chopper Conversion Parts That Set the Stance
The frame, front end, wheels, and tank establish the silhouette. Get those right before spending money on paint, grips, or a headlight.
Hardtail Section or Full Frame
A weld-on hardtail is the traditional route for a rigid Sportster chopper. It gives the bike the low rear profile, solo-seat look, and clean open triangle that define a proper stripped-down build. It also requires careful measuring, competent welding, and a plan for the rear axle plates, chain alignment, fender mounts, and oil tank location.
A bolt-on hardtail may sound easier, but inspect its design closely. A true rigid conversion carries real loads, so fit and construction matter more than a quick installation. If you do not weld frames, handing this phase to an experienced motorcycle fabricator is money well spent.
Keeping the swingarm is another valid choice. A lowered suspension setup, narrow rear fender, solo seat, and tall bars can still produce a strong chopper profile while preserving more comfort and easier service access. That matters if the bike will see long California backroads instead of short runs to a local bike night.
Front End and Trees
A narrow glide front end gives a Sportster a traditional, compact look. Extended forks push it toward the long-bike style, but extension length is not just a cosmetic decision. More length changes trail, ground clearance, turning behavior, brake-line requirements, and how the bike reacts at speed.
Trees and fork tubes must be selected as a system. Verify stem length, bearing compatibility, fork diameter, wheel spacing, axle diameter, caliper mounts, and rotor placement. Rake kits and extended trees can create the look you want, but sloppy geometry can make a chopper wander or steer heavy. If you are changing rake substantially, measure twice and talk to a builder who understands chassis setup.
Wheels, Tires, and Brakes
A 21-inch front wheel and a narrower rear tire are classic chopper territory, but the wheel package has to match the forks and brakes. Hub width, rotor side, rotor diameter, axle spacers, and caliper bracket location all matter. Used OEM Harley wheels can be a smart buy when they are complete and correctly matched, especially for builders chasing period hardware.
Do not treat brakes as an afterthought. A minimal single-disc setup can look right and work well, provided the master cylinder bore, brake line, caliper, and rotor are compatible. Replace questionable seals, pads, hoses, and hardware. A chopper should be light and raw, not hard to stop.
Fuel, Oil, and Electrical: Make the Details Work
A peanut tank is a natural fit on many Sportster choppers, but tank choice affects more than fuel capacity. Check tunnel width, backbone clearance, petcock location, seat clearance, front-mount position, and whether the tank was made for carbureted or fuel-injected use. Fuel-injected Sportsters need a practical plan for the pump, wiring, and tank setup. Forcing an EFI bike into a carbureted-style tank conversion can turn a simple-looking build into a major project.
Hardtail conversions often need a separate oil tank. Mount it where it is protected, serviceable, and clear of the rear wheel, chain, exhaust, and seat springs. Plan hose routing before final paint. Clean lines are good, but pinched oil lines are not.
Electrical work deserves the same attention. A small battery box, simplified harness, and clean tail light can make the center of the bike look wide open. Keep charging-system connections secure, use proper wire protection, and leave enough slack for steering movement. If the build uses turn signals or other street equipment required where you ride, integrate them early instead of trying to hide them after everything is finished.
Controls and Contact Points Make It Rideable
Bars make the statement, but controls determine whether you enjoy the bike after twenty miles. Apes, rabbit ears, T-bars, drags, and narrow pullbacks all change your body position. Measure cable and brake-line length with the bars mocked up at full lock. Check that the throttle snaps back, the clutch releases fully, and no cable rubs hard against the tank or frame.
Forward controls add legroom and a stretched-out chopper position. Mid controls keep your feet under you and can feel better on rough pavement or tighter roads. Neither is automatically better. A tall rider may need forwards; a rider who attacks corners may prefer mids.
Your seat and foot controls should be considered together. A solo spring seat can look dead-on for a traditional build, but spring placement, seat hinge position, and rear fender clearance need to work through the full travel of any remaining suspension. On a rigid, the rider becomes part of the suspension system, so do not choose the thinnest seat just because it photographs well.
Buy Parts Like a Builder, Not a Browser
Used, OEM, NOS, and aftermarket parts all have a place in a Sportster build. OEM pieces often offer dependable fitment and period character. NOS components can be excellent, though age alone does not guarantee usable rubber, seals, or plating. Aftermarket parts give you more style choices, but quality varies hard from one manufacturer to the next.
Before buying, ask for the part number when available, the exact model years it fits, clear photos of mounting points, and confirmation of what is included. A front end without axle hardware, a tank without mounts, or controls missing a master cylinder may still be worthwhile, but price the missing pieces before calling it a deal.
Keep a build sheet with every measurement: neck bearings, fork diameter, axle size, wheel hub width, rotor offset, tire size, chain or belt line, tank mounts, and control lengths. That one page will save you from ordering the same spacer twice or discovering too late that the rear wheel sits off center.
Harley Warehouse carries the kind of new, used, OEM, and hard-to-find Harley inventory that can keep a Sportster project moving when a common catalog part is not the answer. For specialized pieces, condition and fitment details are worth a real conversation before the wrenching starts.
Build It to Be Ridden
The strongest Sportster choppers have a point of view, but they also start, shift, stop, and track straight. Mock up the bike before final welding or paint. Set the wheelbase, tank, seat, bars, and fender in place. Check chain clearance with the suspension loaded or the axle adjusted, turn the bars lock to lock, and look at every line from the rider’s position.
Then leave room for the unglamorous essentials: a solid battery mount, safe wiring, accessible fasteners, functional brakes, and enough fuel for the ride you actually take. Get those details handled, and your Sportster will not just look like a chopper in the garage. It will be the bike you fire up when the road calls. http://harleydavidson.com